
最可悲的身份,是那种既不是学霸又不全是学渣的人。 他们听不懂课,作业不会做,只好以抄作业为生; 不逃课,不捣乱纪律; 为考试成绩着急,又无奈于现状; 三分钟热度,又恨自己不争气。 他们以最普通的身份埋没于人群中,却过着最煎熬的日子。
搭建个人博客(基于hexo + github)
需要前期配置好git、npm(请自行百度 or B站)
1 Hexo 使用
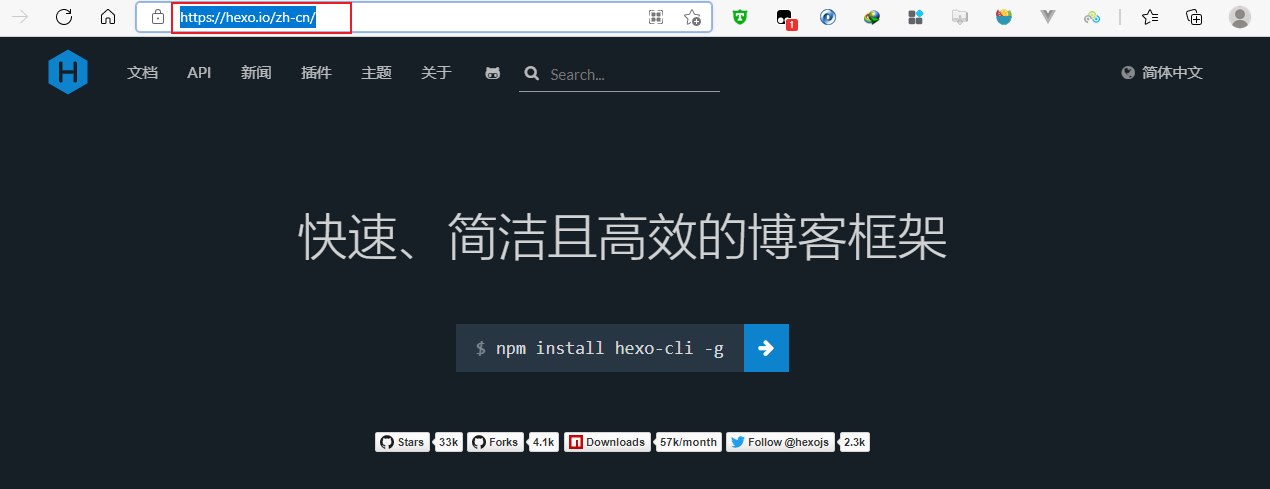
1.1 下载
1 | npm install hexo-cli -g |
初始化(需要到放置该项目的目录下运行)
1 | hexo init [自己的博客文件夹名称] |
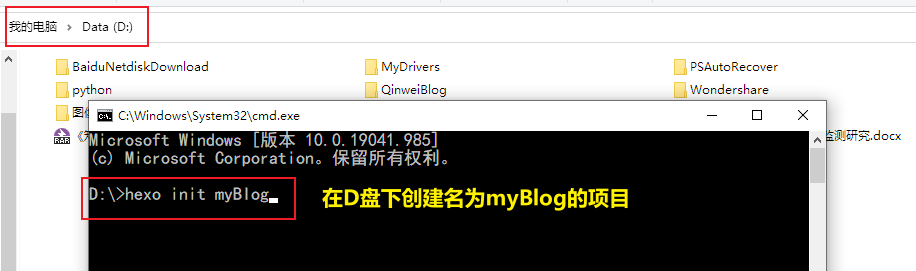
Tips: 【示例】 hexo init myBlog
1 | cd blog |
博客可在本地查看【地址:http://localhost:4000】
2 更换主题
主题放置位置:themes文件夹下
以安装Cactus主题为例:Cactus主题地址
2.1 安装主题
项目目录下运行
1 | git clone https://github.com/probberechts/hexo-theme-cactus.git themes/cactus |
2.2 修改项目配置文件config.yml
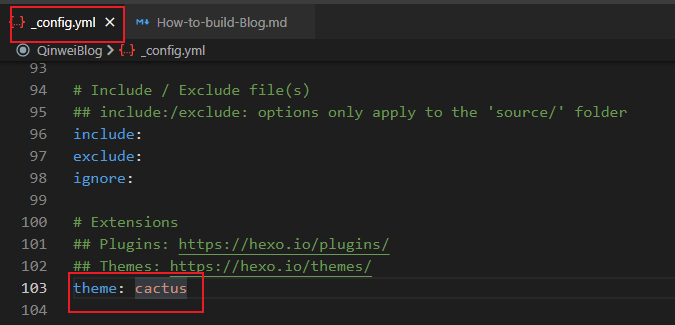
将theme修改为cactus
2.3更换主题风格
Cactus提供四种主题风格:Dark、White、Light、Classic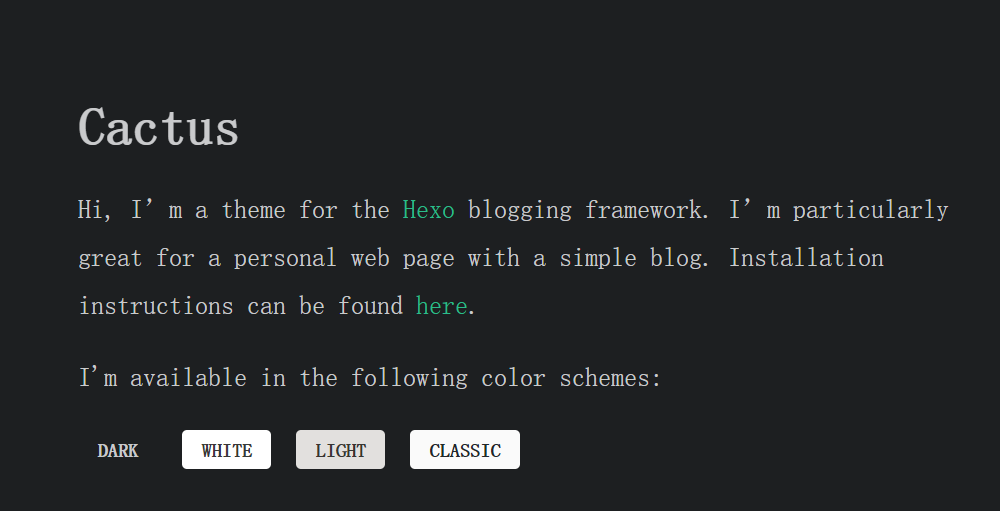
更换时修改theme-cactus-config.yml
将colorscheme改为white或者其他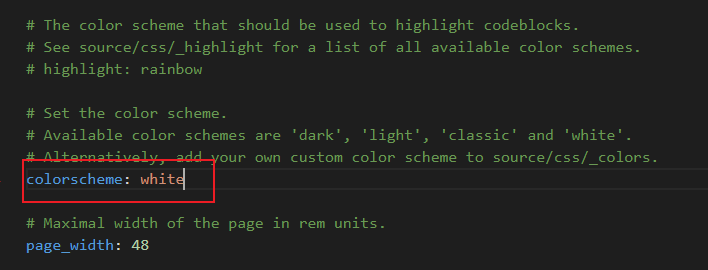
Tips:删掉theme文件夹下的.git文件,方便后续将代码合并提交到github
vscode中运行命令,即可在本地查看
1 | hexo clean && hexo g && hexo s |
3 部署到GitHub
Tips:此时已拥有github账号且本地已经配置好git
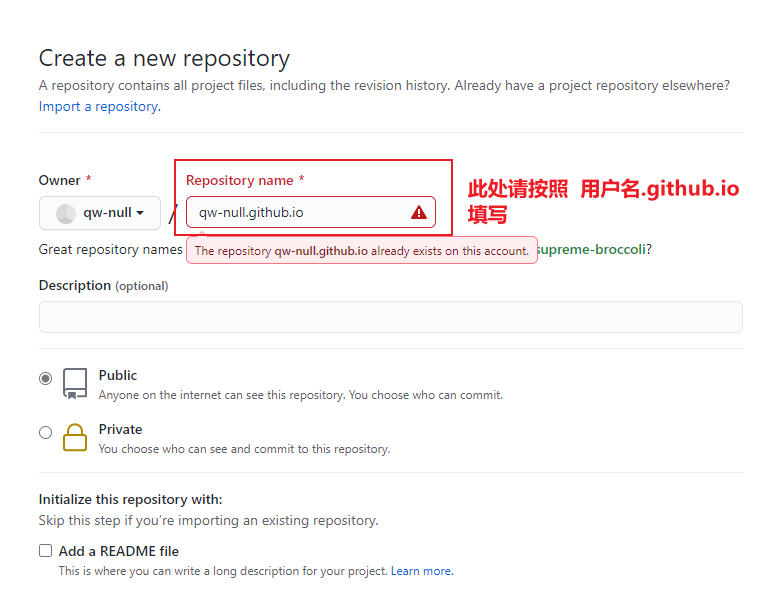
3.1 创建一个新仓库(命名方式注意)
3.2 将本地项目添加至线上
(1)VScode 运行
1 | git remote add origin git@github.com:qw-null/qw-null.github.io.git |
(2)修改配置文件config.yml(下拉至最后)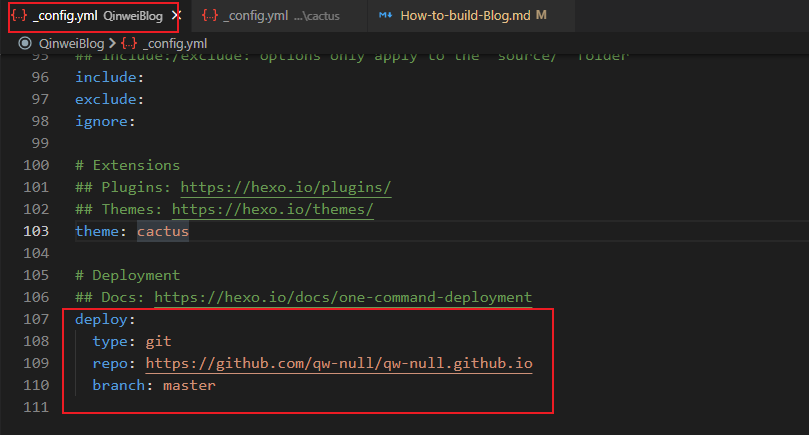
Tips:repo是创建的github仓库的地址
(3) 安装依赖
1 | npm install hexo-deployer-git --save |
(4)运行命令将代码推至仓库
1 | hexo deploy |
3.3 完成GitHub线上设置
线上仓库中选择Settings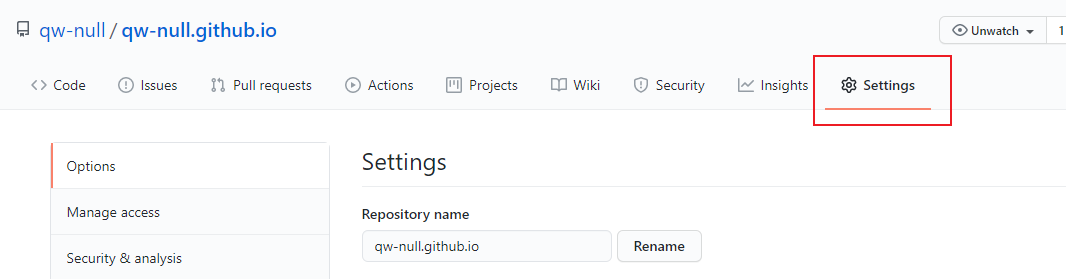
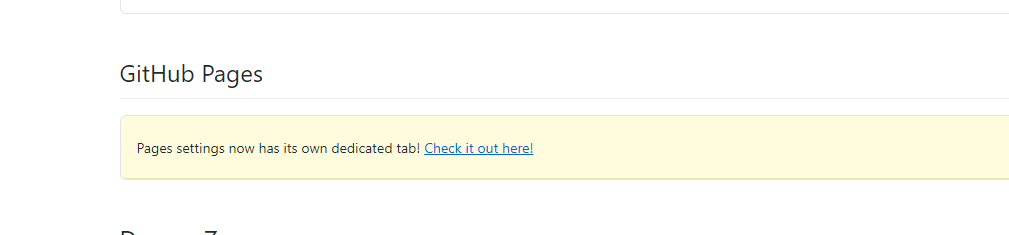
下拉找到GitHub Pages,点击Check it out here!

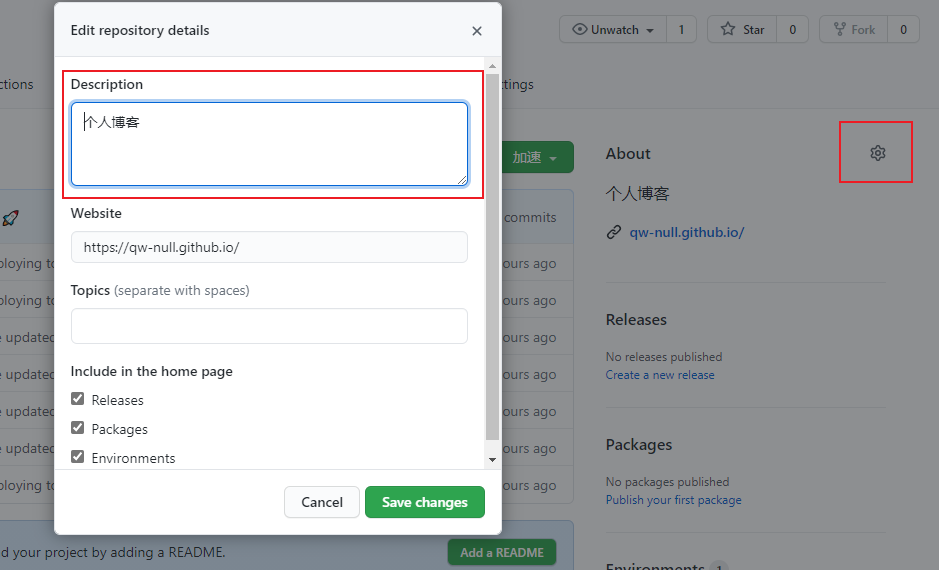
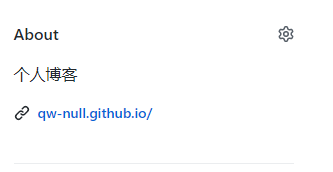
博客地址:https://qw-null.github.io/,将其设置到仓库首页
此时博客已经部署到线上
4 GitHub自动部署
项目文件夹下新建.github->workflows的文件夹,里面新建文件deploy.yml,内容如下:
1 | name: Build and Deploy |
4.1 新建分支
示例:创建分支名为dev-
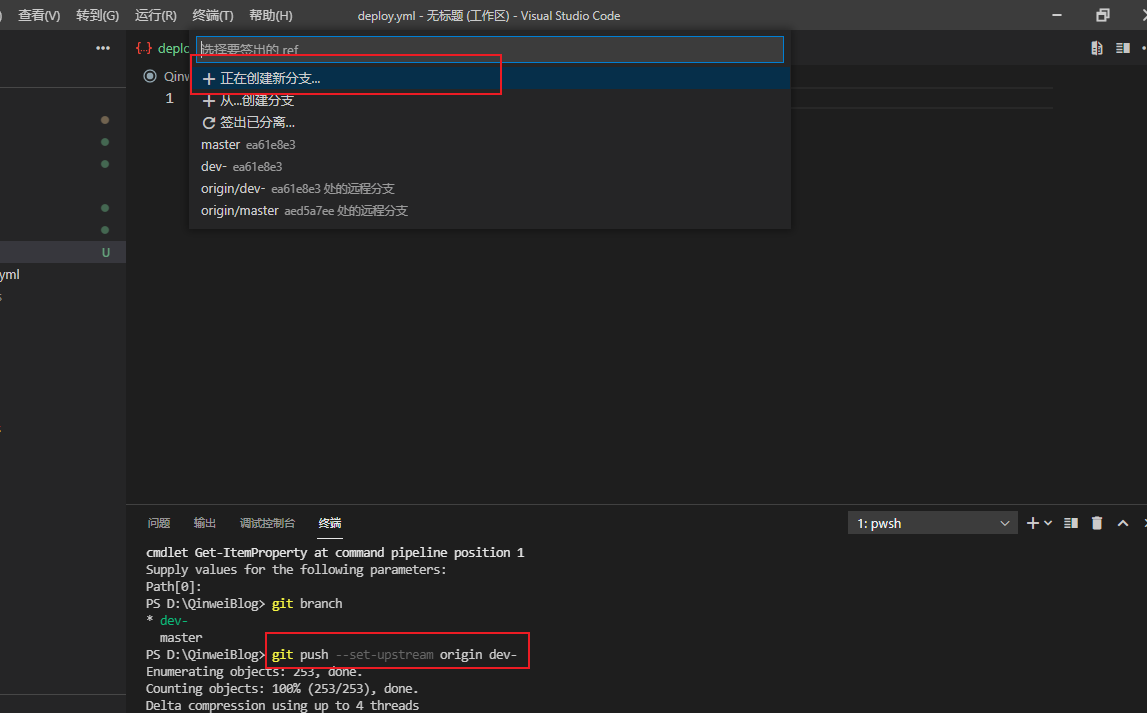
运行代码,将本地创建分支上传至远程仓库
1 | git push --set-upstream origin dev- |
然后将项目提交到dev-分支
1 | git add . |
此时项目已经提交至远程仓库dev-分支,项目进入到自动部署阶段
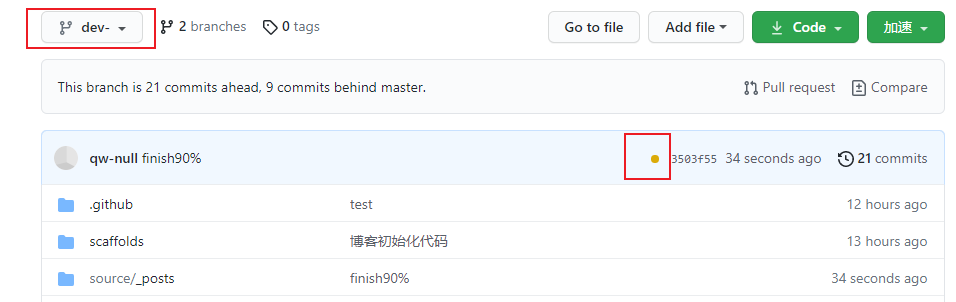
Tips: 提交完成后会在dev-分支下出现一个小黄点,这说明项目正在自动部署,变为绿色后,表明部署完成,就可以通过博客地址访问你更新的内容
5 博客中使用图片
个人提供解决思路:picGo+Github搭建图床
参考教程如下:PicGo+Github图床的正确打开方式